My bathroom was functional in the most literal sense of the word, yet it never felt finished. Everything had a place, technically speaking, but the space still carried a faint sense of visual tension.
Bottles lined the counter despite my best efforts to keep them grouped neatly, drawers held too many half-used items, and no matter how recently I had cleaned, the room never quite achieved that quiet, composed feeling I associate with hotel bathrooms.
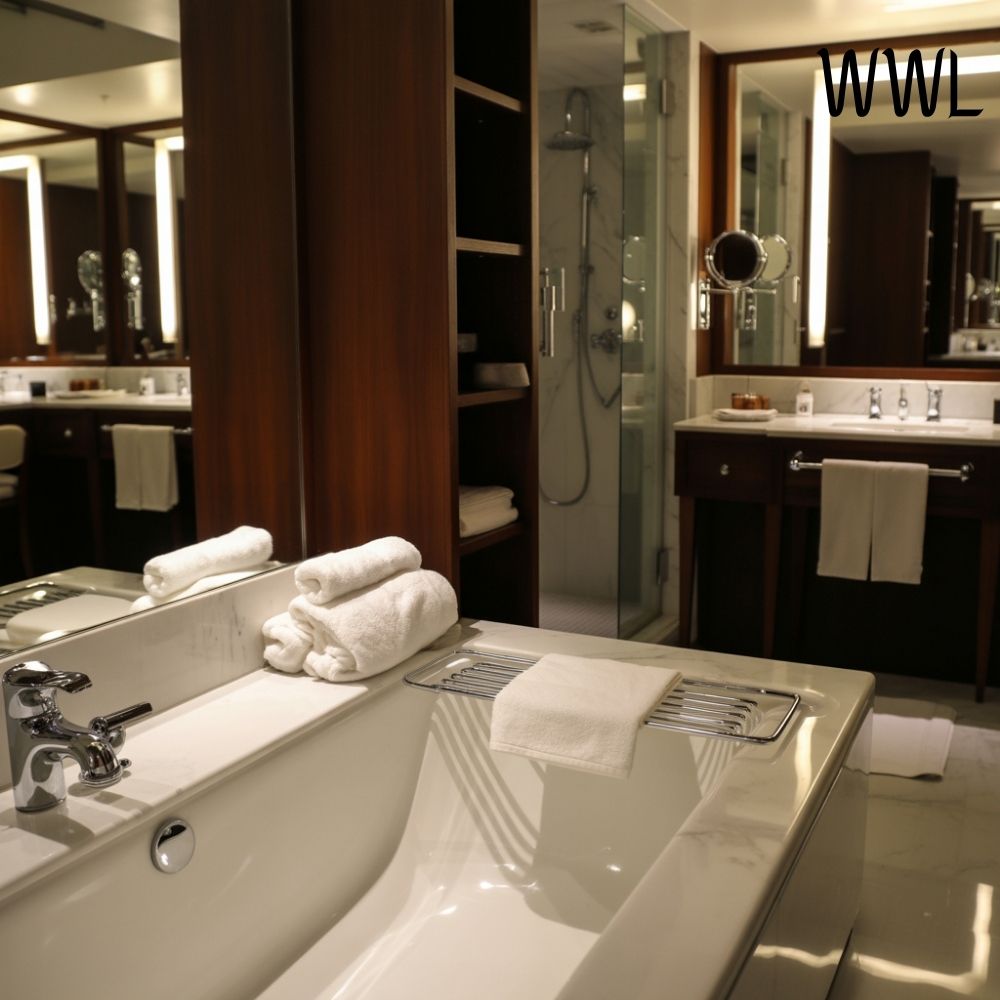
The realization came during a short stay at a small boutique hotel where nothing about the bathroom felt excessive, yet everything felt intentional. There were fewer items visible, more negative space, and a sense that each object had earned its position.
As I stood there brushing my teeth that first night, I noticed how calm I felt, and it occurred to me that the difference had very little to do with square footage or luxury materials. It had everything to do with storage that was designed to be seen rather than hidden.
When I returned home, I looked at my own bathroom differently. What followed was a simple DIY storage solution that took less than an afternoon to implement, required no renovation, and completely changed how the space felt.
Why Hotel Bathrooms Feel Effortless
Hotel bathrooms feel luxurious not because they offer more, but because they offer less, and what remains is positioned with intention. There is a clear hierarchy between what is visible and what is concealed, and that balance creates visual calm almost immediately.
In my own bathroom, everything was accessible, but nothing was prioritized. Daily essentials competed with occasional items, and the lack of distinction made the space feel busier than it needed to be.
Once I recognized that hotels design bathrooms around rituals rather than storage capacity, the solution became obvious. I needed a system that highlighted only what I used every day and quietly removed everything else from view.
The Shift: Designing Storage Around Daily Rituals
Instead of reorganizing everything at once, I began by observing my habits. I paid attention to what I reached for each morning and evening, and just as importantly, what I ignored. This small act of awareness revealed that I used far fewer items daily than I had been accommodating visually.
Once I identified my true daily essentials, I realized that the storage solution I needed was not larger cabinetry or additional containers. I needed a single, defined zone that elevated those essentials while allowing the rest of the bathroom to breathe.
This became the foundation of the DIY that changed everything.
The DIY Storage Solution: A Visible, Curated Daily Tray System
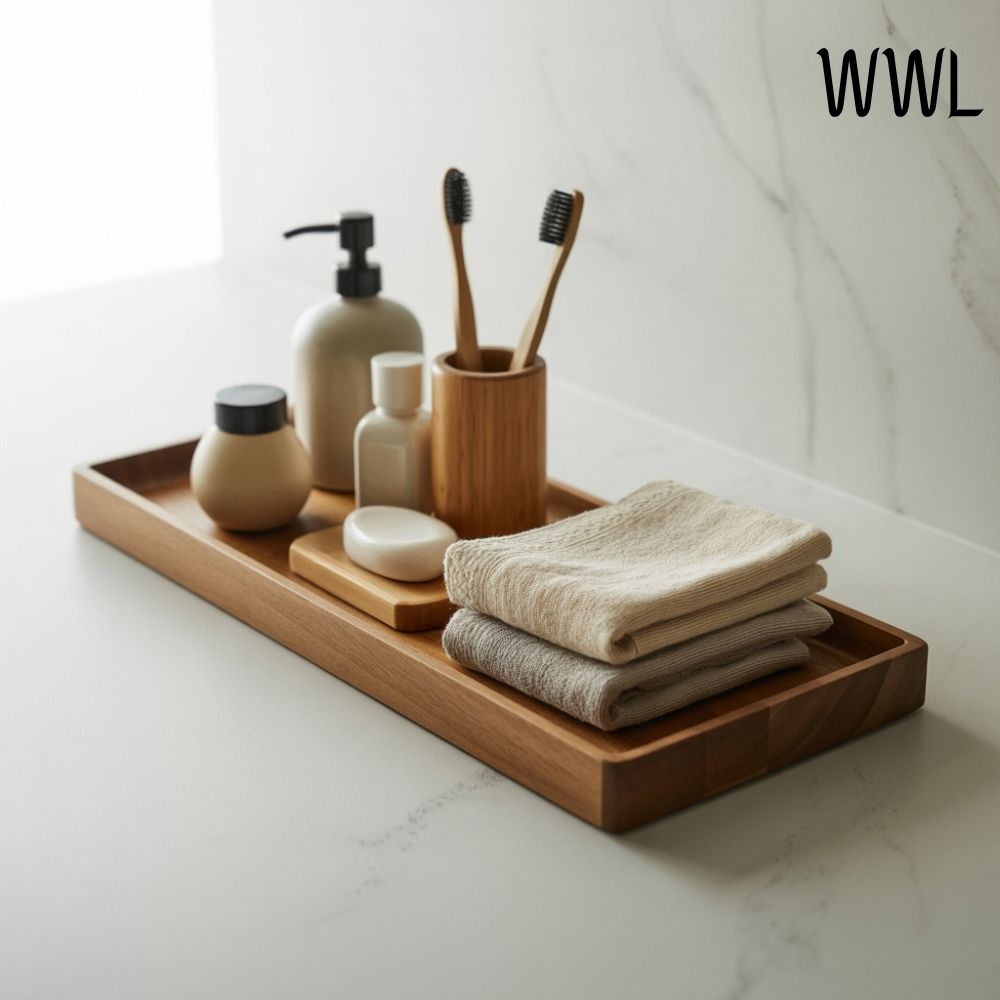
The solution itself is remarkably simple. I created one intentional, open storage area for daily-use items and removed everything else from the counter entirely. The key was treating this storage as a design element rather than a utility solution.
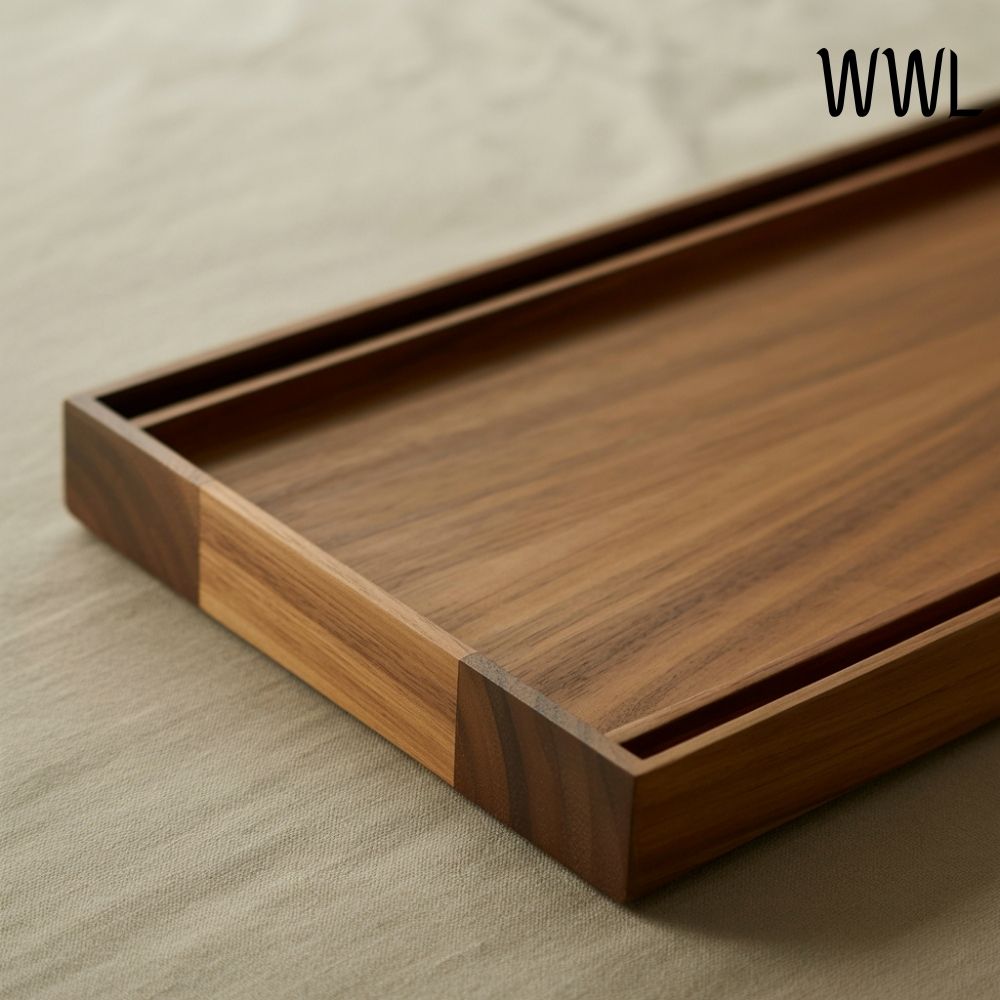
I chose a shallow tray with clean lines and a material that felt grounded and timeless, something that could live comfortably on the counter without drawing too much attention to itself. The tray became the visual anchor for the bathroom, defining where daily items belonged and, just as importantly, where they did not.
Before placing anything back, I cleared the counter completely and cleaned the surface thoroughly. That reset mattered, because it allowed me to reintroduce items with intention rather than habit.
I then placed only the products I use every single day onto the tray, arranging them with space between each piece so nothing felt crowded. Toothbrush, cleanser, moisturizer, and hand soap each earned their place. Everything else moved into drawers or cabinets, regardless of how attractive the packaging was.
The result was immediate. The counter felt calm. The room felt larger. And the bathroom began to resemble the hotel spaces I admired, not in appearance, but in atmosphere.
How I Chose the Right Tray and Containers
Choosing the right materials mattered more than choosing something decorative. I avoided trays with raised edges that felt bulky or ornate, opting instead for something low-profile and substantial.
Materials like stone, ceramic, sealed wood, or matte resin worked beautifully, offering visual weight without distraction.
I also decanted products when possible, not for aesthetic perfection, but for cohesion. Matching containers created a sense of calm that individual packaging never achieved. Even when labels differed, similar shapes and finishes unified the look.
This is where the bathroom shifted from feeling organized to feeling designed.
How to Adapt This Solution to Any Bathroom
This approach works regardless of bathroom size. In smaller spaces, the tray might live on a narrow ledge or shelf. In larger bathrooms, it can anchor a wide vanity without filling it. The principle remains the same: one visible zone for daily rituals, everything else intentionally concealed.
If your bathroom lacks counter space entirely, the same idea can be applied to a wall-mounted shelf at eye level. The goal is not the surface itself, but the clarity it creates.
Final Thoughts
The DIY storage solution that made my bathroom feel like a hotel was never about buying more or upgrading finishes. It was about editing with honesty and designing storage around how I actually live.
By creating a visible, curated zone for daily essentials and removing everything else from view, I transformed the room’s atmosphere completely.
True luxury, I’ve learned, is not about abundance. It is about ease, clarity, and the quiet confidence that comes from knowing everything has its place. When your bathroom supports your daily rituals without demanding attention, it becomes more than functional. It becomes restorative.