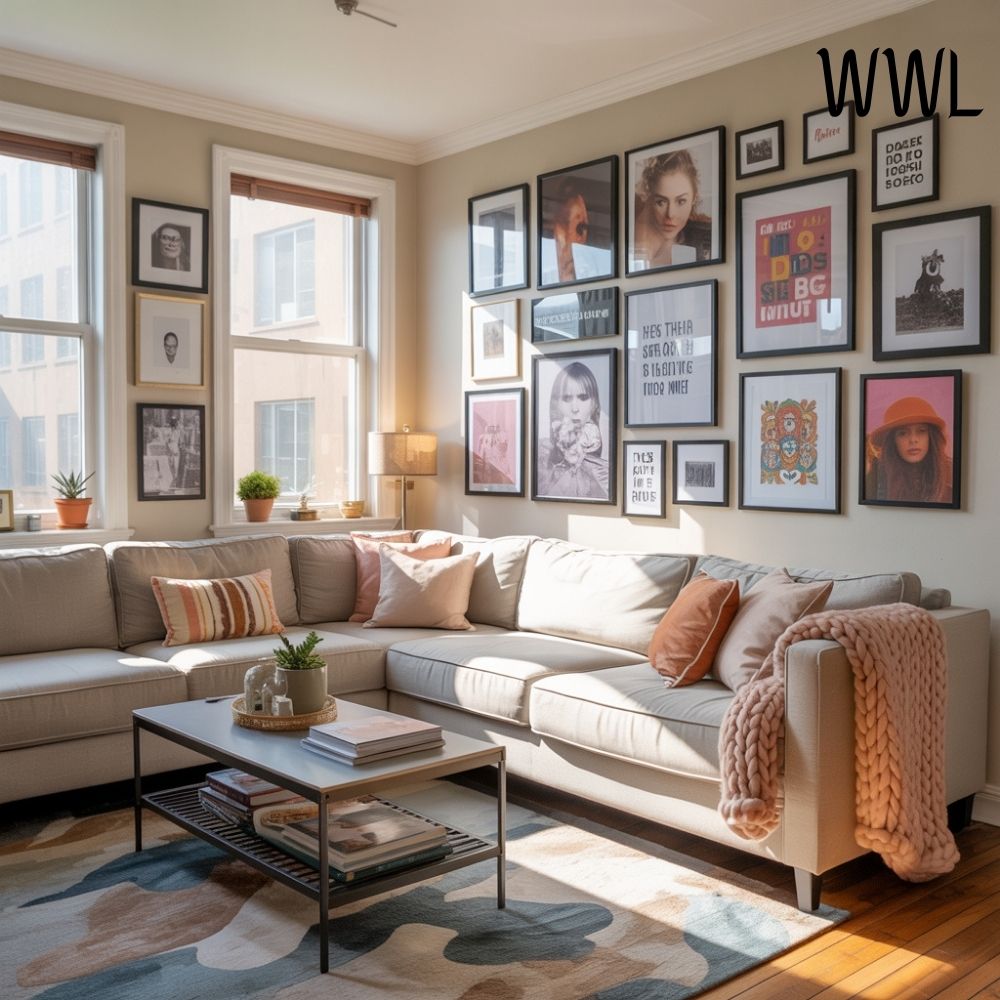
The walls in my living room were technically finished, yet emotionally unresolved. They were clean, painted in a tone I loved, and free of obvious clutter, but every time I sat down in the evening, I felt a faint sense of incompleteness that I couldn’t quite articulate.
The furniture felt considered, the lighting was soft and layered, and the room as a whole functioned beautifully, yet my eyes kept drifting upward, searching for something that wasn’t there.
I initially assumed the solution would be art, but every time I considered buying a large piece, something stopped me. I wasn’t resisting commitment so much as resisting decoration without intention.
I didn’t want my walls to be filled. I wanted them to belong. The shift came one quiet afternoon when I stood in the center of the room and realized that what my living room needed was not more personality, but more clarity.
I made a wall styling DIY that is both simpler and more transformative. It didn’t involve measuring dozens of frames or creating a gallery wall that demanded constant adjustment.
Instead, it focused on balance, proportion, and restraint, and it changed the way the entire room felt almost immediately. This is the wall styling approach that finally made my living room feel intentional rather than unfinished.
Why Walls Often Feel Wrong Even When They Look Fine
Wall styling is often approached as an afterthought, something to be solved once the rest of the room is complete, yet walls hold more visual power than we tend to acknowledge. They frame the space, guide the eye, and quietly establish whether a room feels composed or accidental.
What I realized, after years of trial and error, is that walls feel wrong not because they are empty, but because they are undefined. When a wall lacks a clear role, it creates visual hesitation. The eye doesn’t know where to land, so it keeps moving, and that movement registers as subtle discomfort.
Once I understood that wall styling is less about filling space and more about assigning purpose, the DIY approach became clear.
The Core Concept: One Wall, One Intention
The foundation of this DIY is a principle I now follow consistently: one wall should communicate one clear intention. Not multiple stories, not layered messages, and not a collection of unrelated elements, but a single visual idea that anchors the room.
In my living room, I chose the wall directly opposite the seating area, the one your eye naturally meets when you enter the space. Rather than spreading decor across multiple walls, I committed fully to this one surface, allowing the rest of the room to breathe.
That decision alone eliminated a surprising amount of visual noise, because intention thrives when it is focused rather than diluted.
Step One: Clearing the Wall Completely
Before adding anything, I removed everything. This included art, hooks, and even pieces I thought I liked. I let the wall sit bare for an entire day, which was uncomfortable at first, but deeply necessary.
This pause allowed me to see the wall not as a problem to solve, but as a surface with potential. I paid attention to how light moved across it throughout the day and how it related to the furniture below. This observation stage became the most important part of the process, because it informed every decision that followed.
Step Two: Choosing a Single Anchoring Element
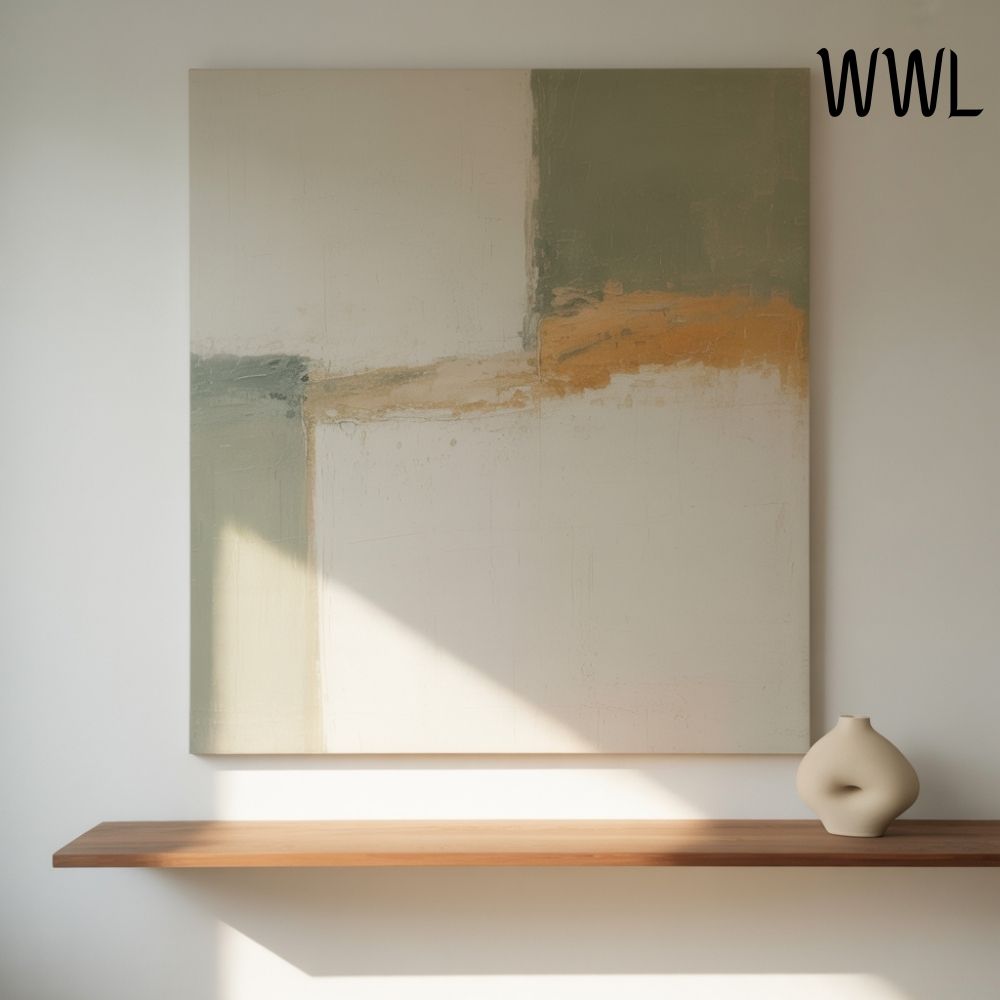
Instead of building a composition from multiple smaller pieces, I chose one anchoring element that would define the wall’s identity. In my case, this was a large piece of art with restrained color and generous negative space, but the anchor could just as easily be a textile, a sculptural panel, or a long floating shelf.
The key criteria were scale and calm. The piece needed to be large enough to hold its own without support, and quiet enough to coexist with the rest of the room. Once placed, it immediately grounded the wall, giving it presence without demanding attention.
This is where many wall styling attempts go wrong. Too many medium-sized elements compete, while one well-chosen anchor creates clarity.
Step Three: Establishing Proportion and Height
After placing the anchor, I adjusted its height carefully. Rather than centering it mathematically, I centered it visually in relation to the furniture beneath it. This meant positioning it slightly lower than instinct suggested, allowing it to feel connected to the room rather than floating above it.
I stepped back often, viewing the wall from different angles, sitting and standing, until the placement felt inevitable rather than approximate. When proportion is correct, you stop noticing it, and that invisibility is a sign of success.
Step Four: Adding One Supporting Element Only if Necessary
Initially, I planned to add additional elements, but once the anchor was in place, I resisted the urge to continue. Instead, I lived with the wall for several days, noticing how it felt during different moments of the day.
Eventually, I added one supporting element, and only one, positioned asymmetrically to create quiet tension. In my case, it was a slim picture ledge holding a single object, but this could also be a subtle wall light or a narrow shelf.
This element was not decorative in the traditional sense. It existed to support balance, not to add interest. Its success lay in how little it asked to be noticed.
Step Five: Letting the Wall Settle
One of the most overlooked steps in DIY styling is allowing the space to settle. After finishing, I resisted the impulse to adjust or add. I lived with the wall as it was, trusting that intention needs time to reveal itself.
Over the following week, the living room began to feel calmer. Conversations flowed more easily. My eye rested naturally instead of searching. The wall stopped being something I thought about and became something that quietly worked.
That, to me, is the definition of intentional design.
How to Apply This DIY in Your Own Home
This approach works in any space because it relies on principles rather than trends. Choose one wall. Clear it completely. Assign it a single purpose. Introduce one anchor. Support it only if necessary. Then step back.
If something feels tempting but not essential, it likely doesn’t belong. Intention thrives when it is allowed to be decisive.
Final Thoughts
The wall styling DIY that transformed my living room was not about adding personality or filling space. It was about clarity, proportion, and the courage to stop before excess crept in.
By treating the wall as a design statement rather than a backdrop, I gave the room a visual anchor that quietly elevated everything else.
Intentional spaces do not announce themselves. They reveal themselves slowly, through ease, balance, and a sense of quiet resolution. When a wall feels intentional, the entire room follows.